When planning our hunting trip we debated on many options for sleeping arrangements to name a few, sleeping in tents, a large wall tent, taking a camper out, staying in a hotel, a truck bed tent, or converting a cargo trailer. We settled on the cargo trailer with the thought that this will most likely not be our last trip out west and it would get used on multiple trips so it was economically the best option. I have a 30′ camper that I could have taken but between the weight and pulling it back unknown dirt roads didn’t make it a viable option. Justin and I had decided we’d split the cost of the trailer and the build. He being an electrician would wire the trailer up so we could put basic lights and outlets in it.
We started out with the idea of getting a simple 7/14 trailer and converting it. I spent a few weeks scouring the internet, we obviously wanted to spend the least amount of money on this item, but get something that wasn’t going to fall apart. After searching for used trailers for a while I wasn’t coming up with anything suitable in the area. They were all heavily used contractor trailers, and I didn’t want to take the chance on something like that. We found a trailer dealership about an hour and a half north of us that dealt in a lot of volume, and had very reasonable rates. They had all different sizes and the price difference between a 7×14 and an 8×16 trailer was so minimal that we opted for the extra room. After taxes and tags we paid $4300 total for the trailer.
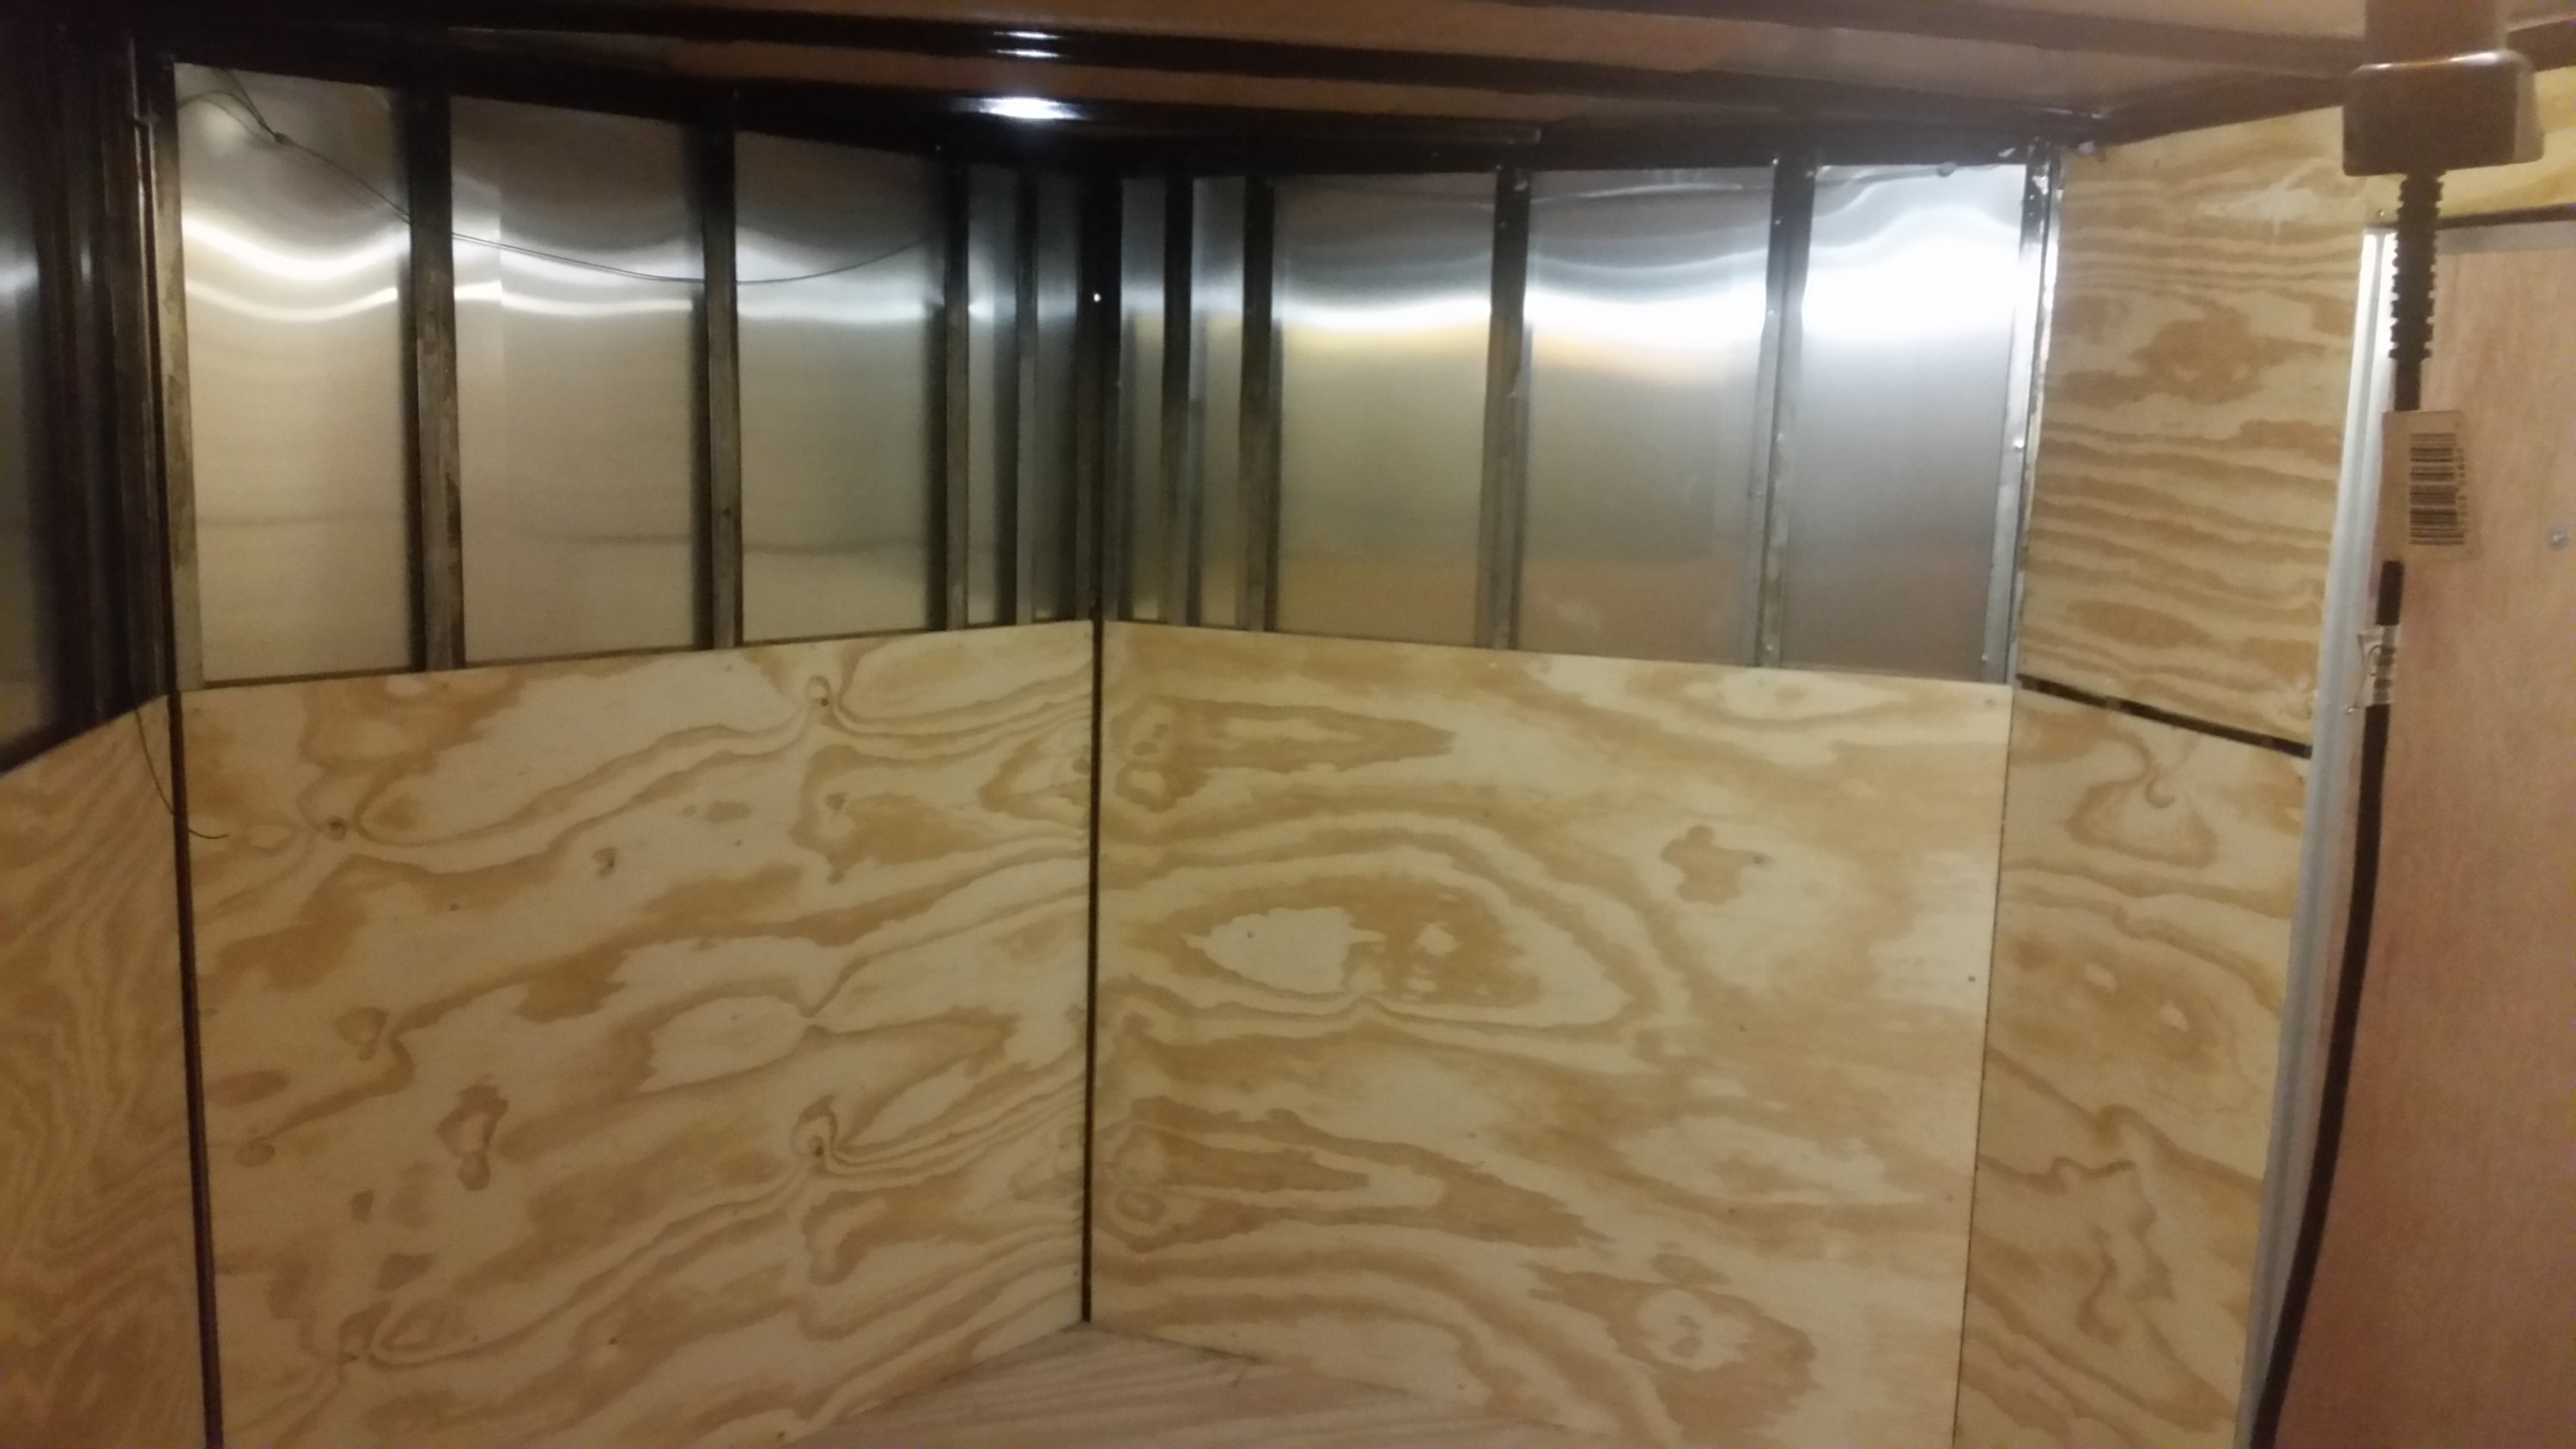
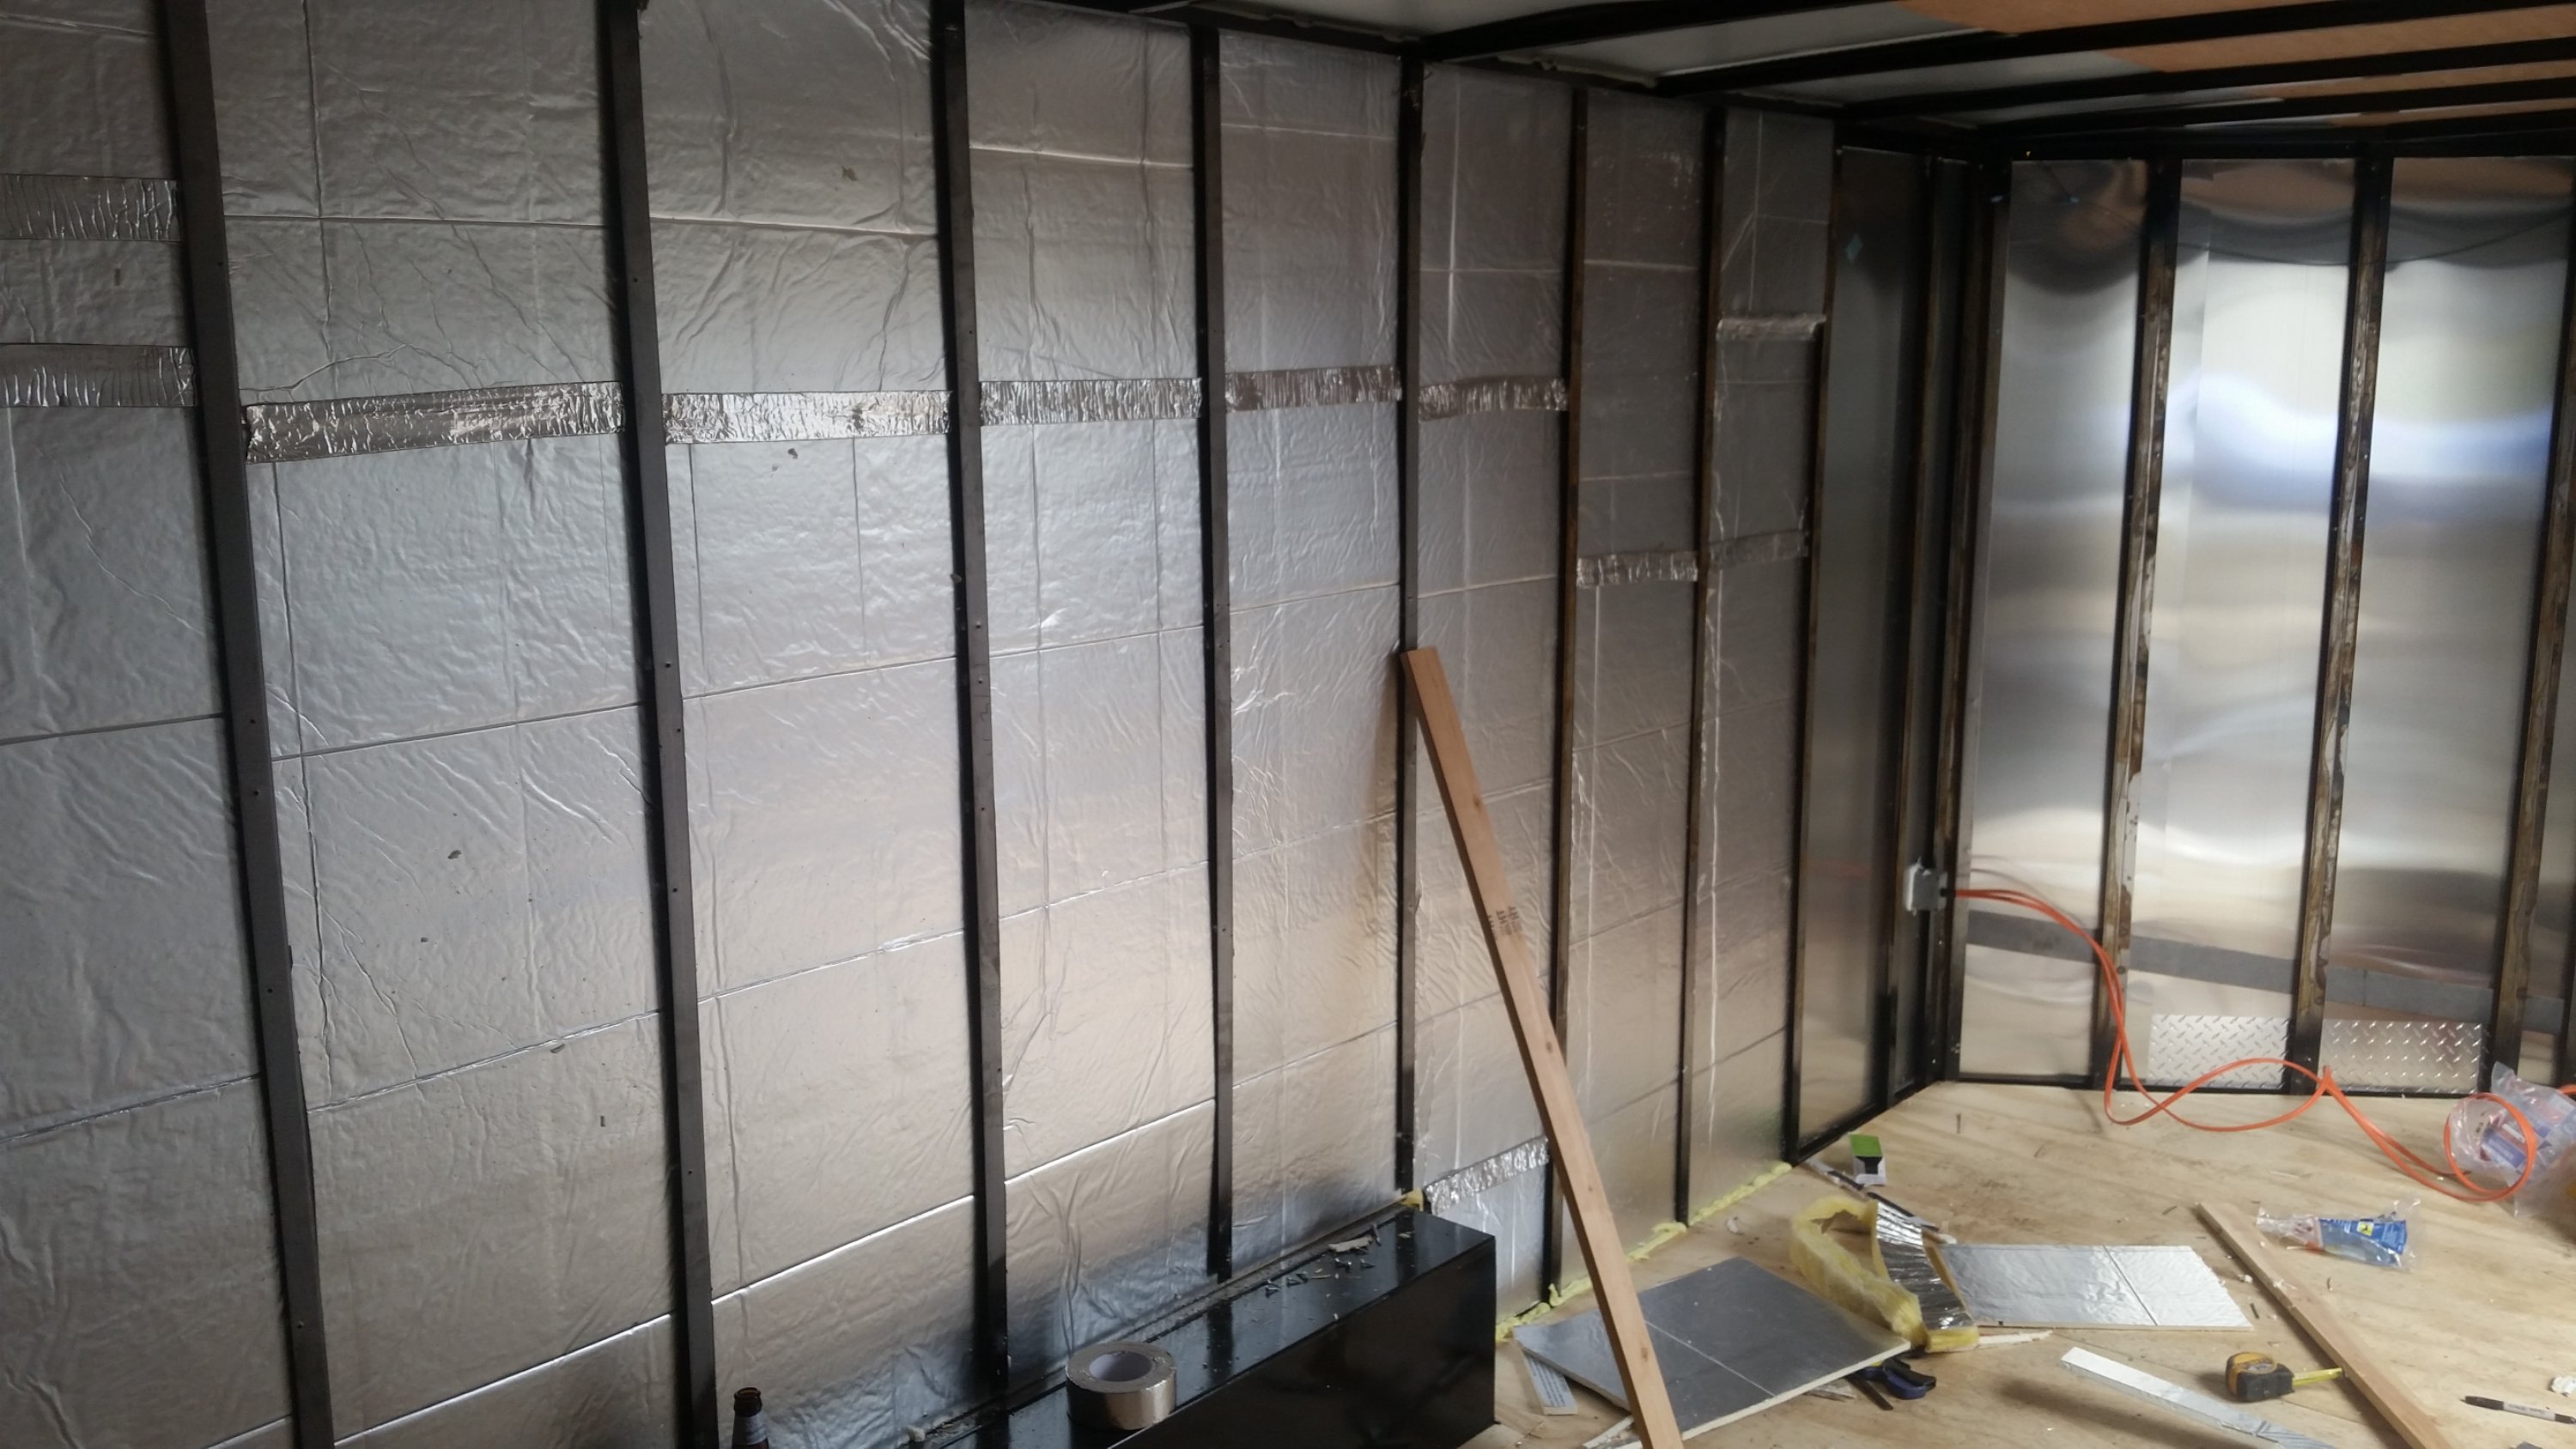
We got it back to my house and unhooked it. I worked on taking all the plywood walls off. Exposing about 1″ of space to put insulation in. I stopped at lowes and bought 1/2″ foam board insulation and some luan for the ceiling. The insulation job didn’t take long at all using a razor knife to cut the boards to size, they slipped right in without difficulty. The ceiling was fastened with the same self tapping screws the trailer came with but a little shorter. Before we put the ceiling up, Justin made his light holes, and ran his wiring throughout the trailer.
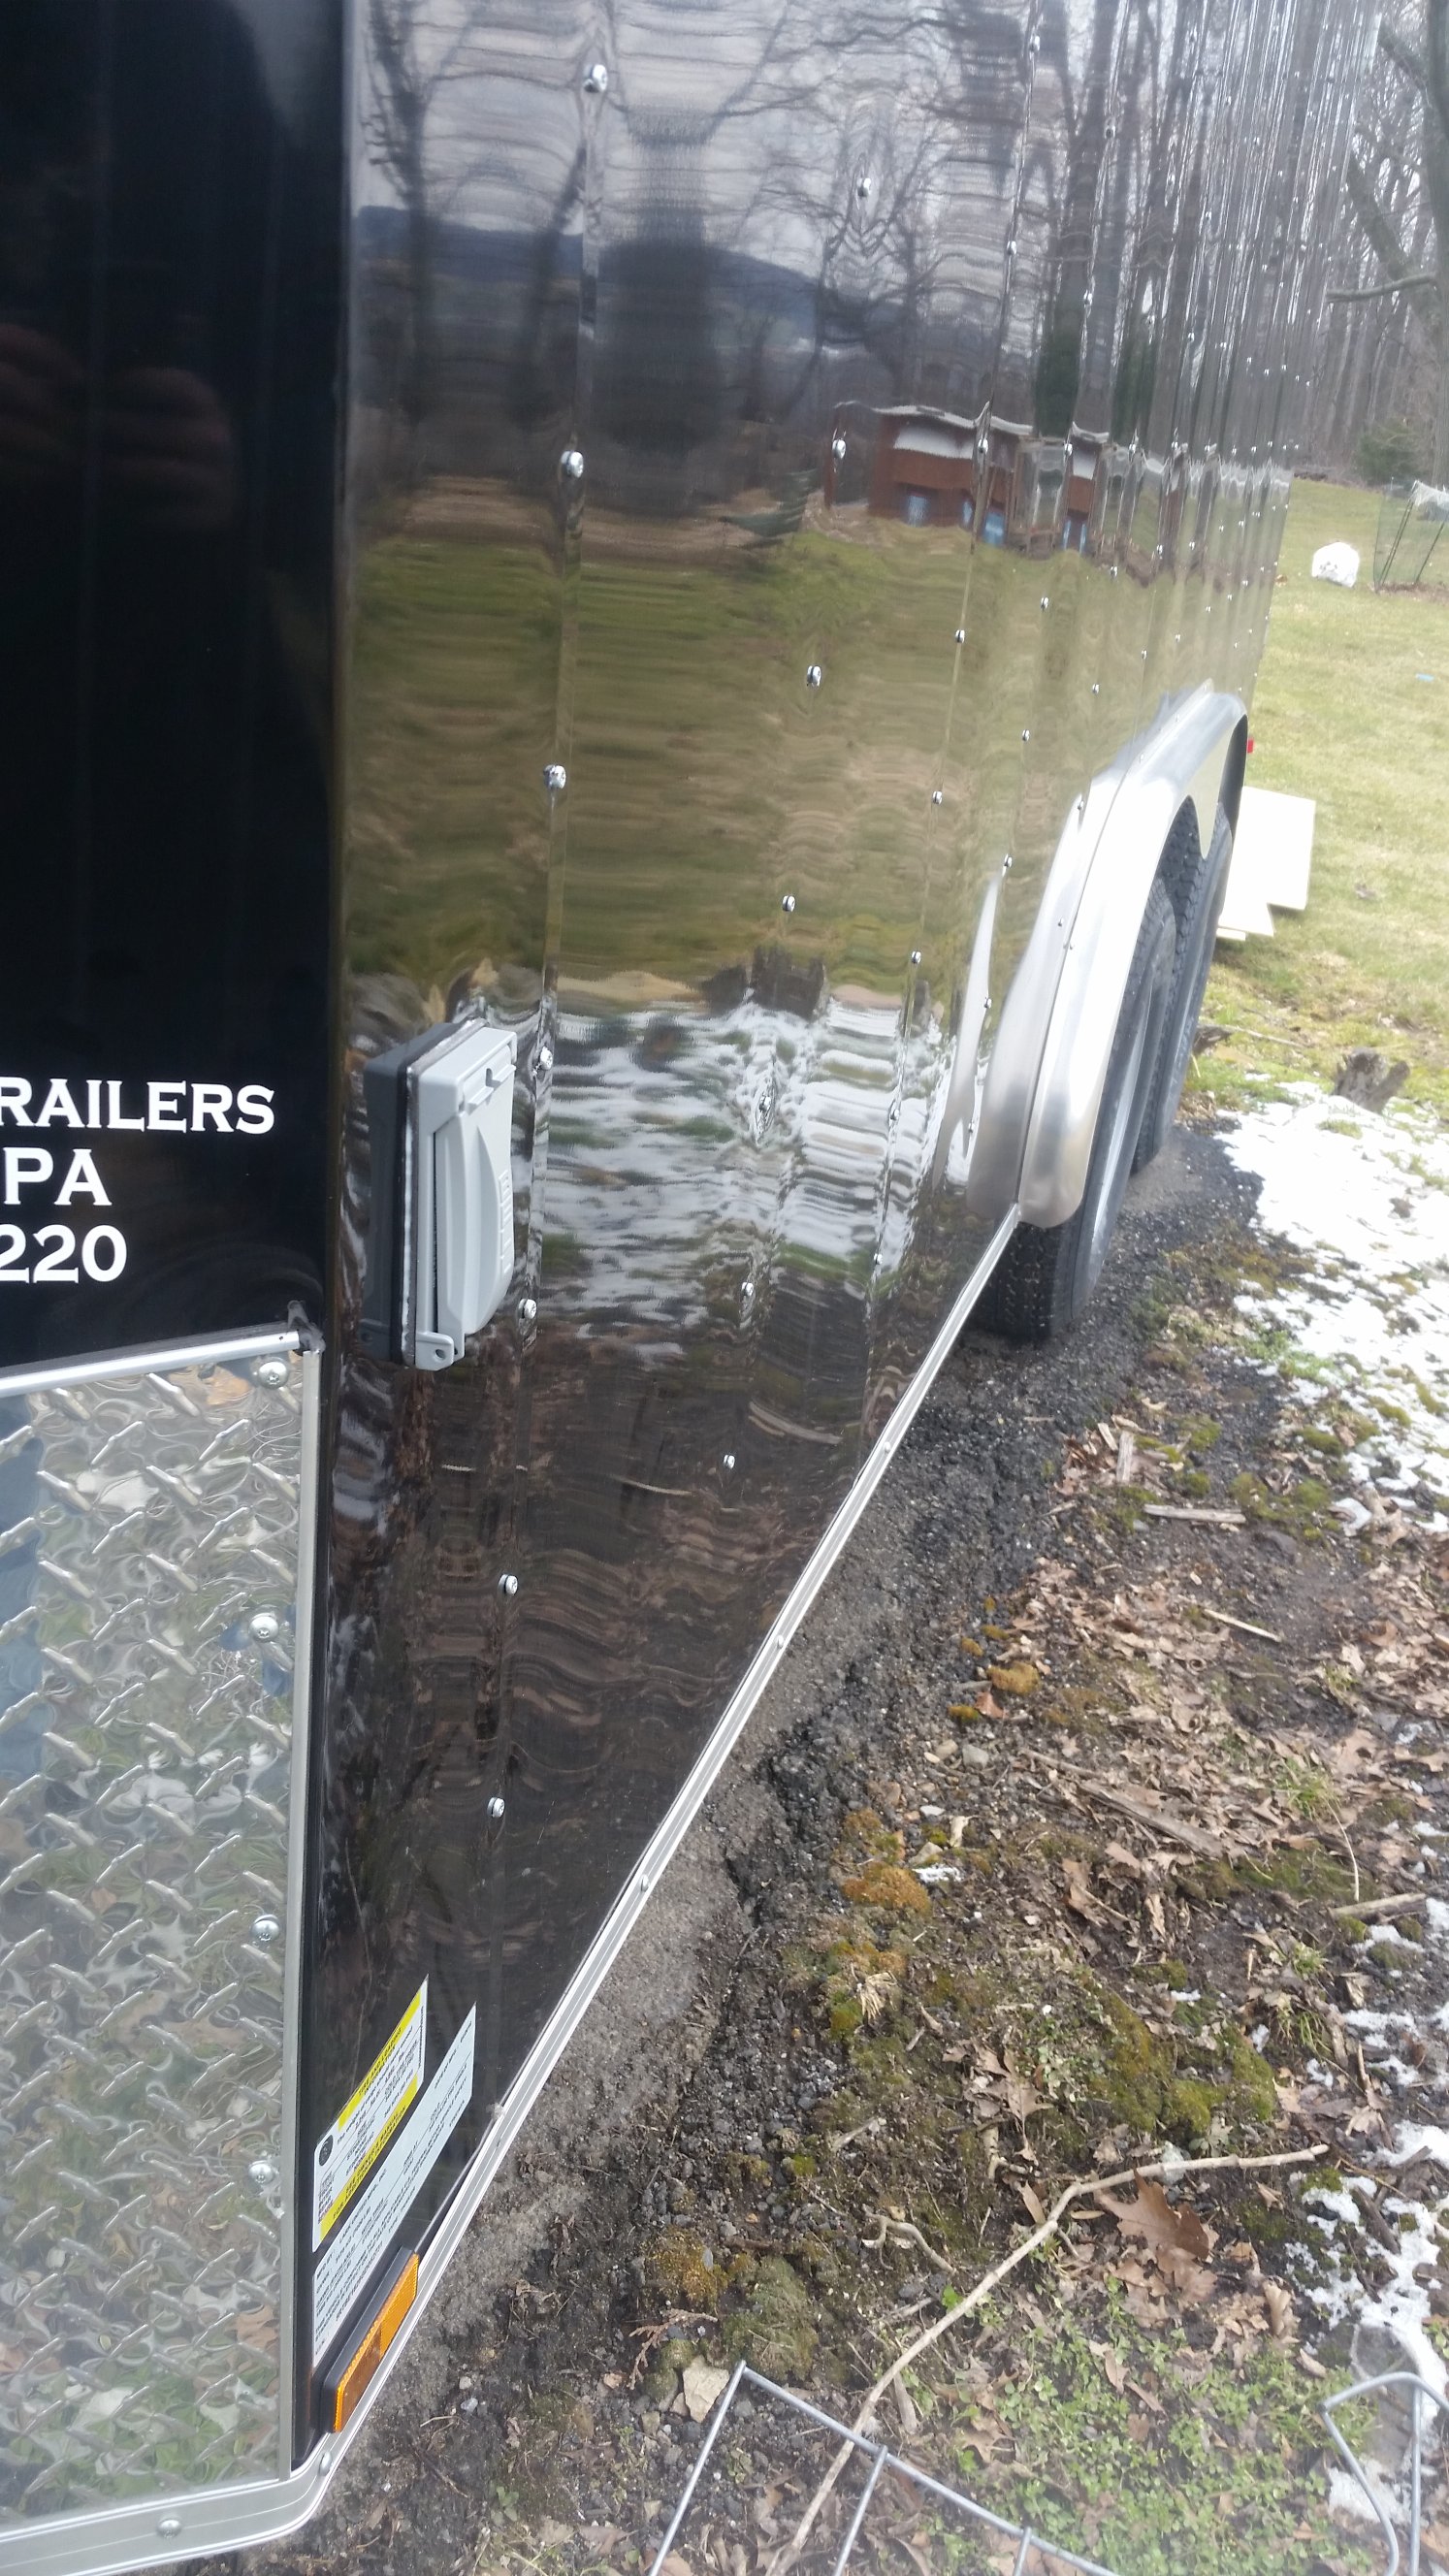
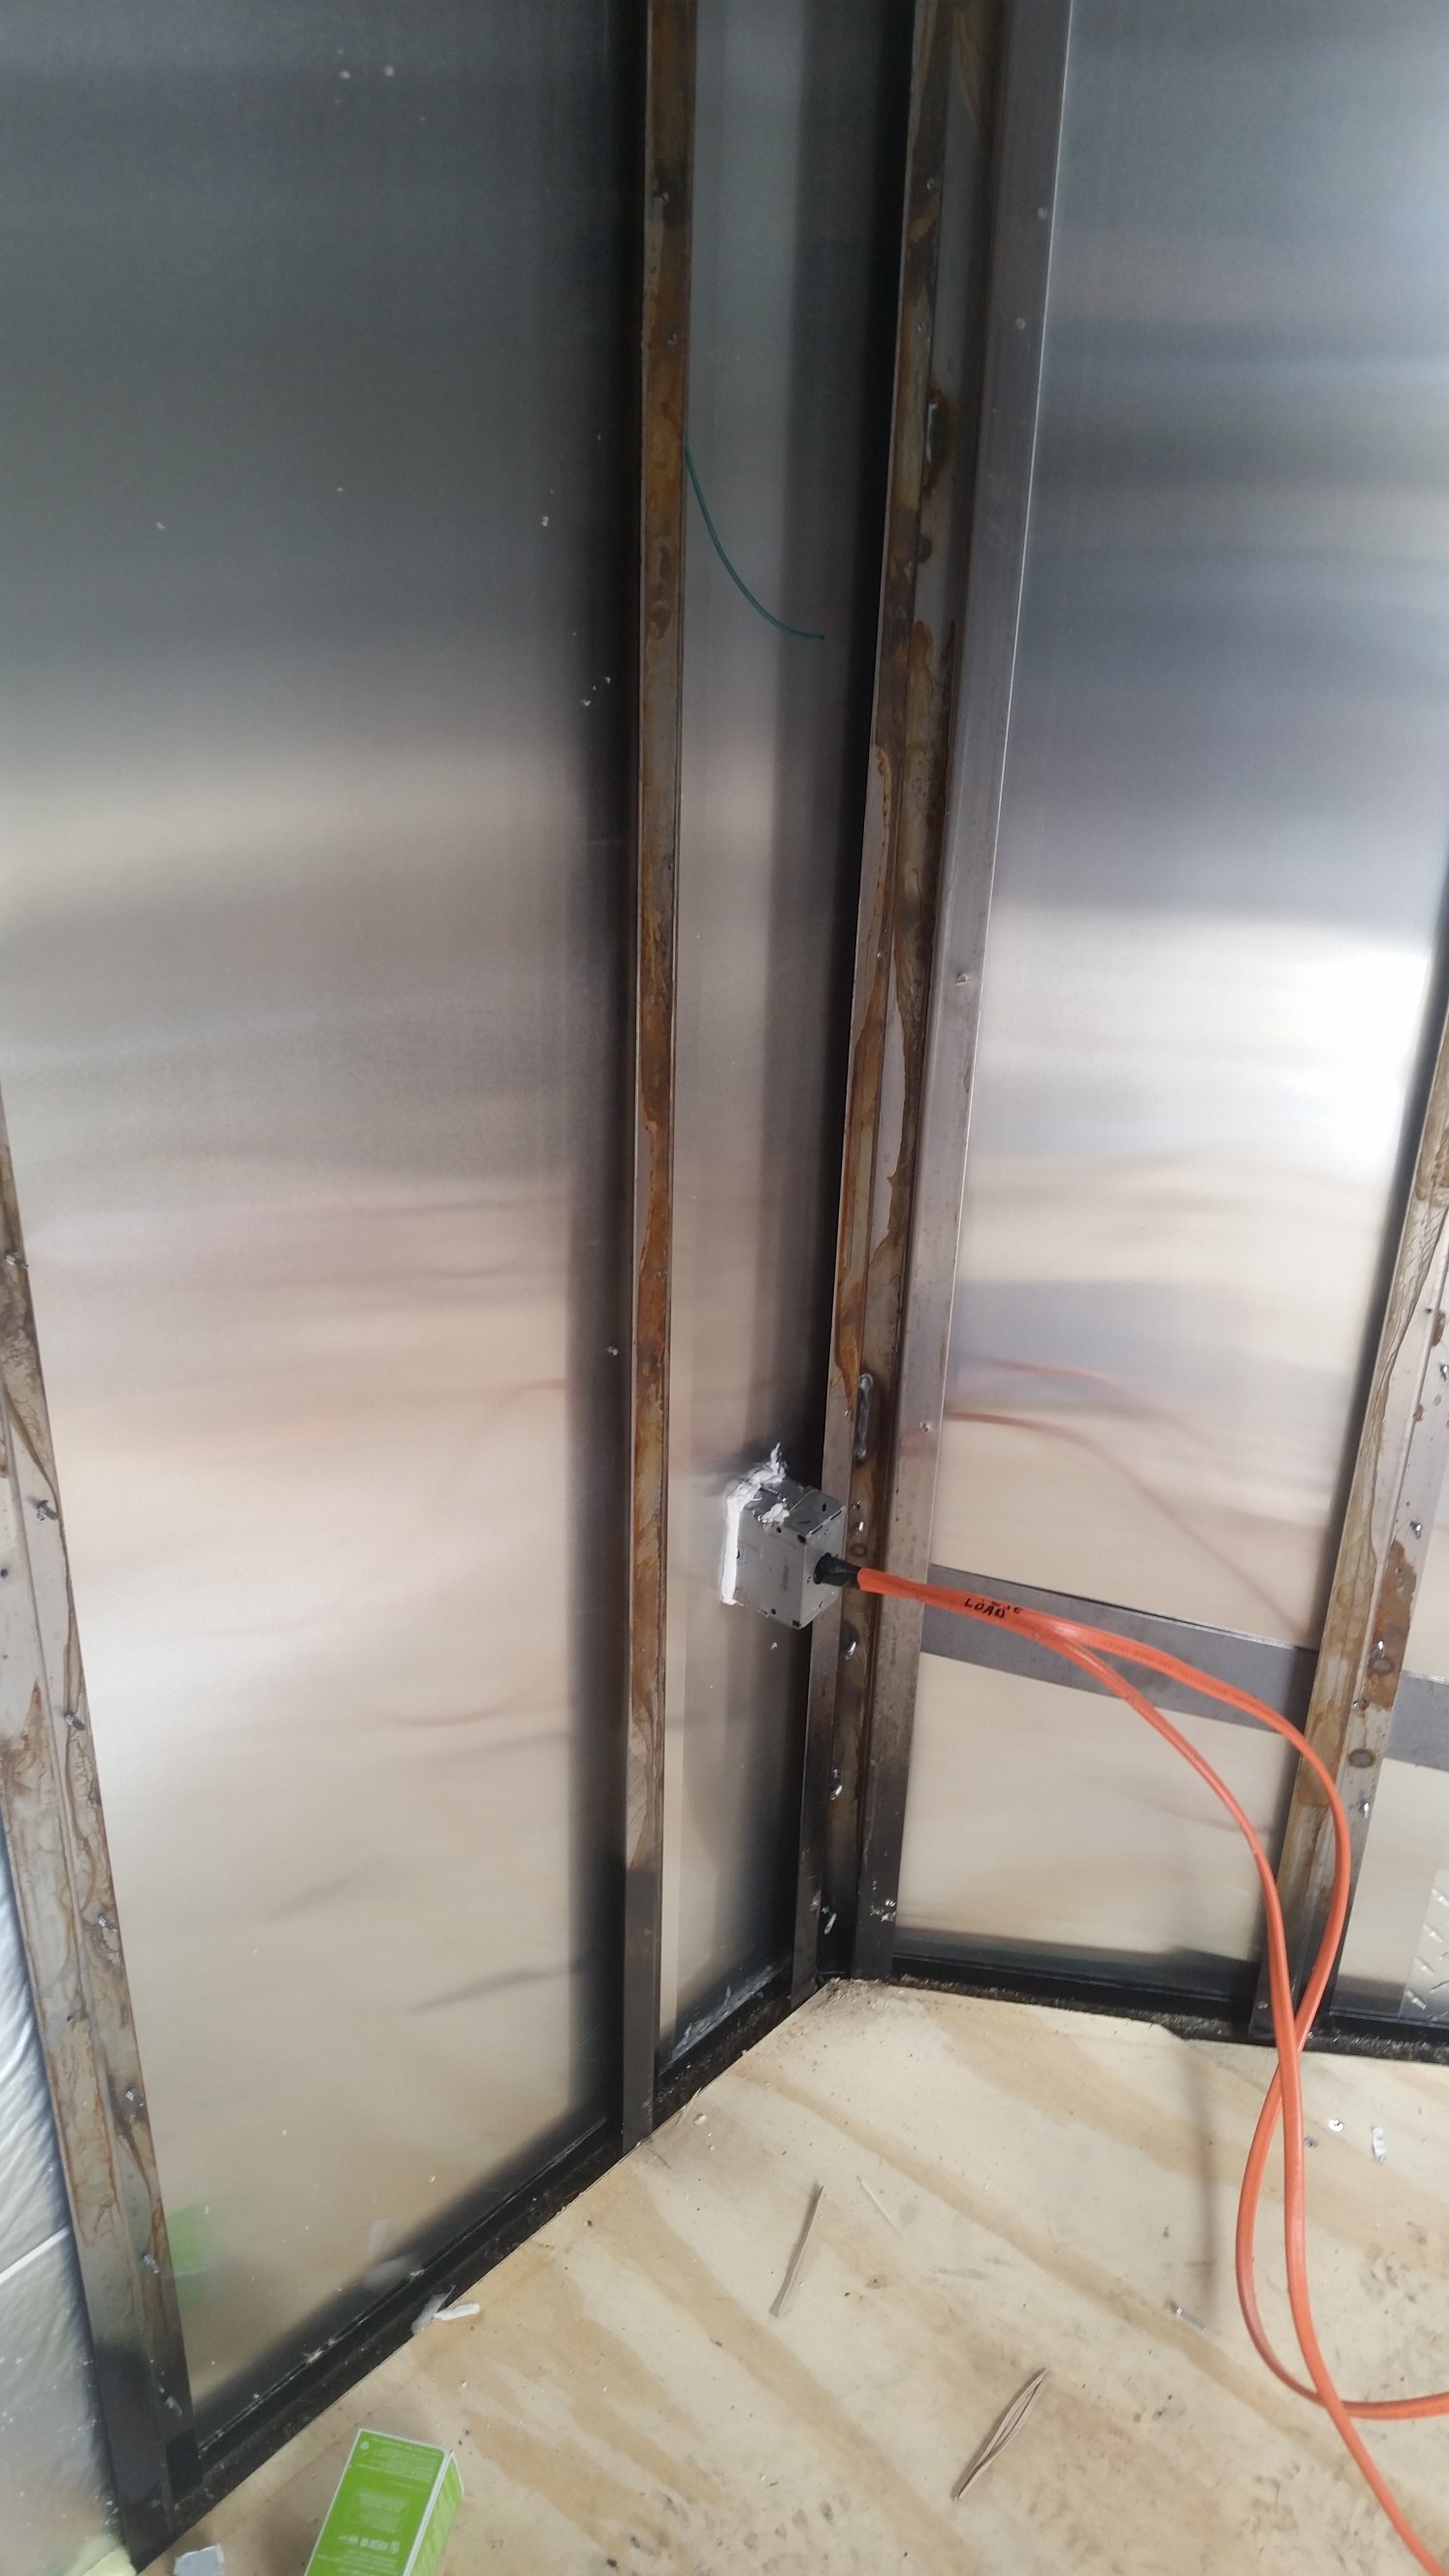
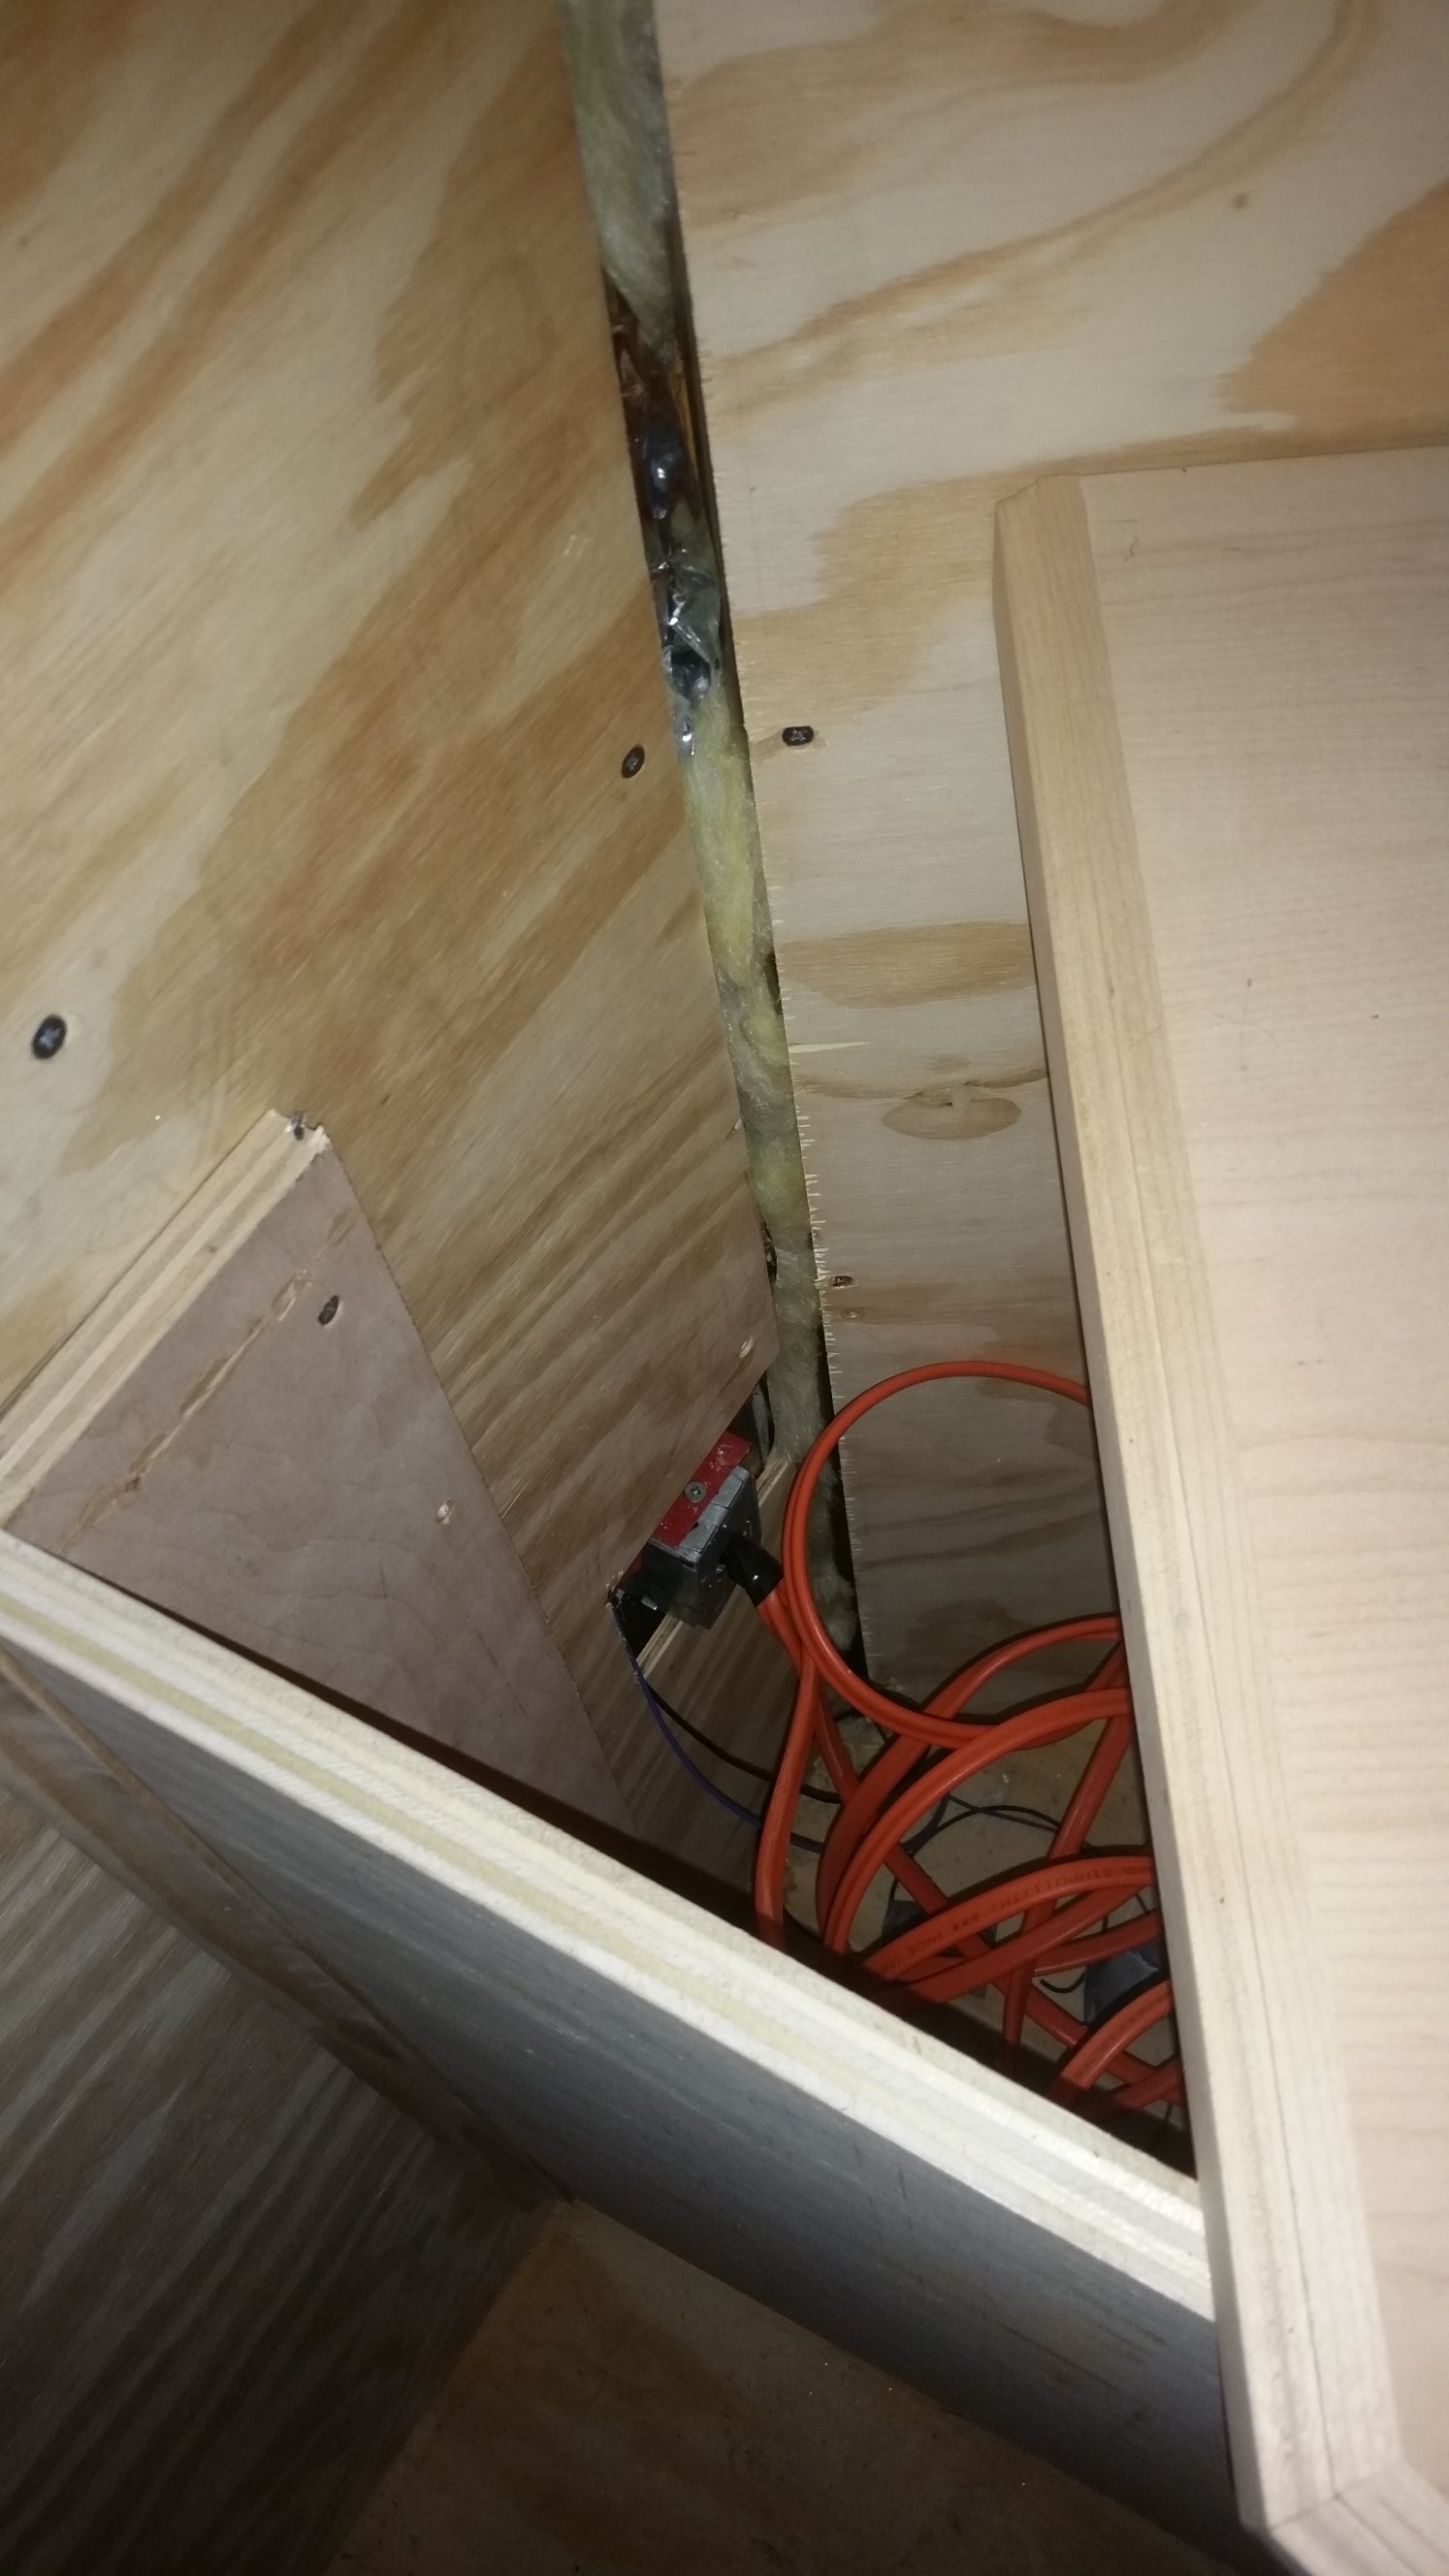
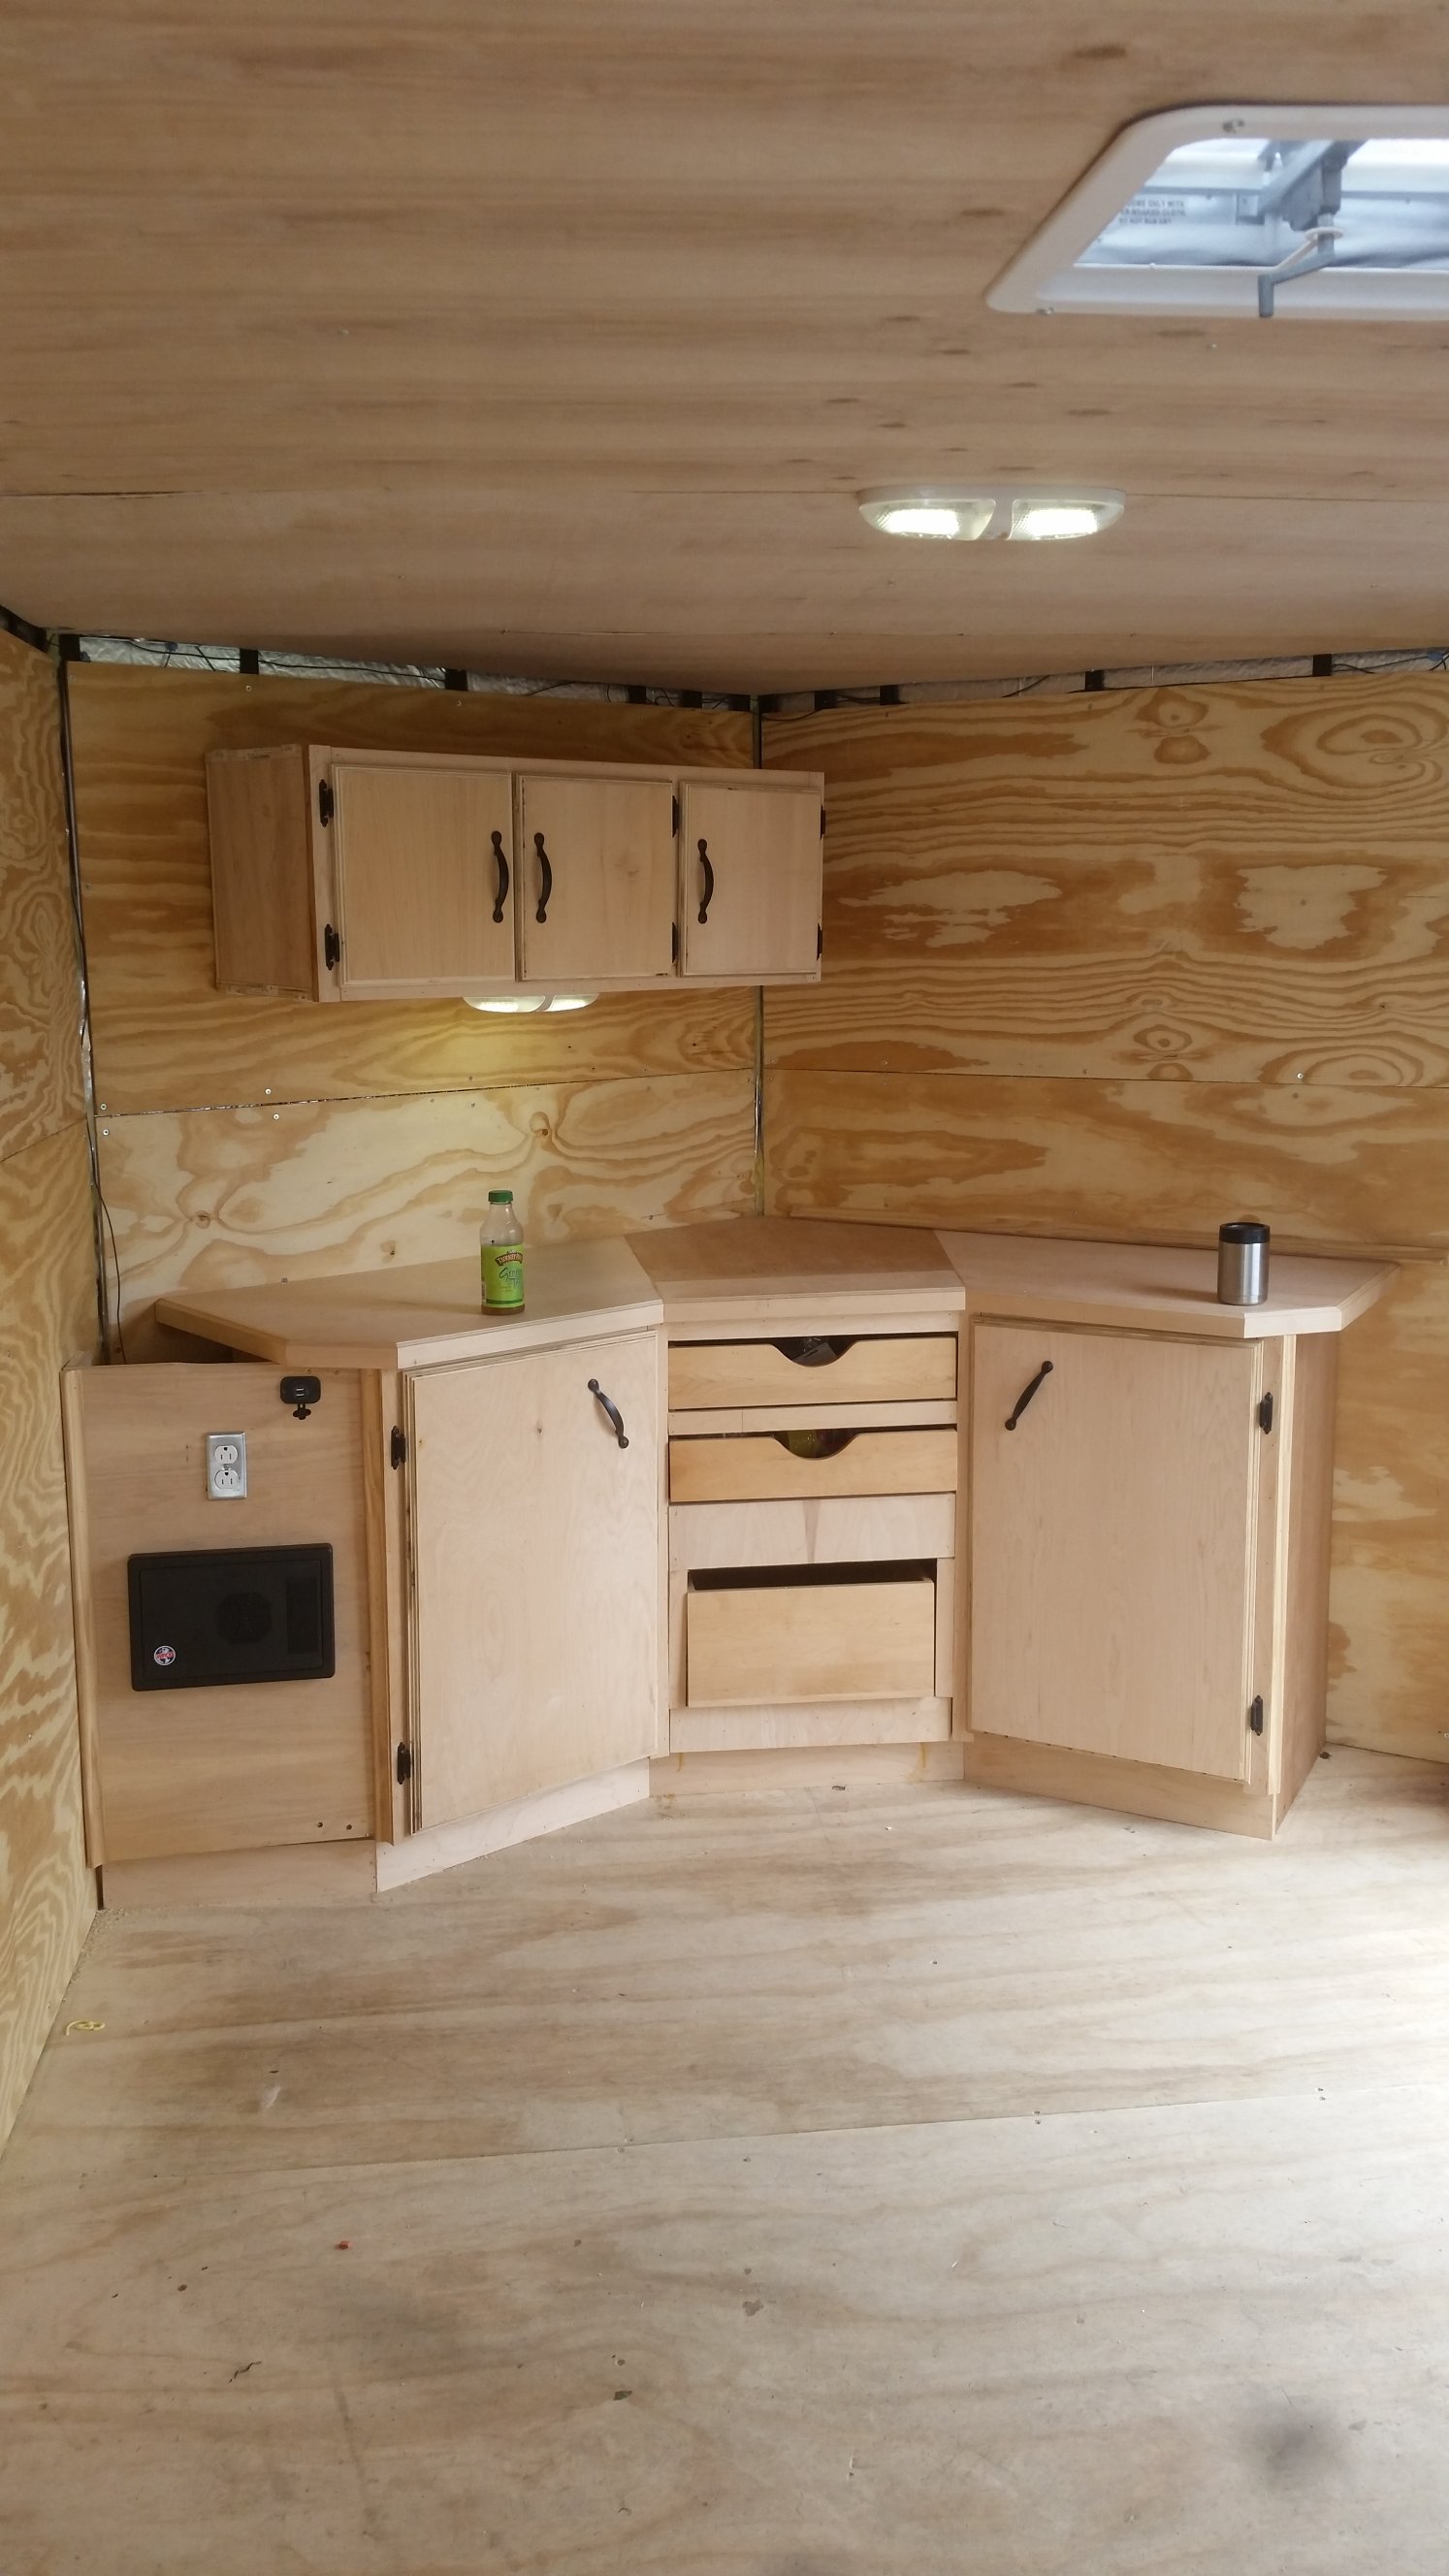
We put 2 overhead 12v lights, one cabinet light, 1 porch light, and 2 spotlights out the back of the trailer. The spot lights were in case we had game to clean in the evening we would have plenty of light to take care of that. Justin wired all the switches and lights up in just a few hours. Everything was powered by an interstate RV battery. That was connected to a converter box, and everything was installed in the front cabinets of the trailer. We had a 120V outdoor outlet installed on the outside of the trailer so that the battery could be charged by a generator, and one 120V double outlet installed inside the trailer to run things like the coffee pot and microwave. One of the outside outlets went directly to the converter and the other one powered the inside outlets, so the generator could be plugged in to one or both of the outside outlets.
Todd was able to get us cabinet grade plywood from someone he had done some work for. The homeowner was a cabinet maker for years and had a stockpile of it in their basement that they wanted to get rid of. Todd and I went over to their house and loaded up with everything we needed. The original plan was to build a counter top straight across the front of the trailer. The trailer was a V-nose model so we had a little extra room up front to work with than we had thought. Todd got to work on putting the cabinets together in the front of the trailer, we ended up with a cabinet on the left and right of the V, with a middle section for some drawers. To the left of the cabinet we left an area to put the converter in and room to fix any of the wiring if we needed to.


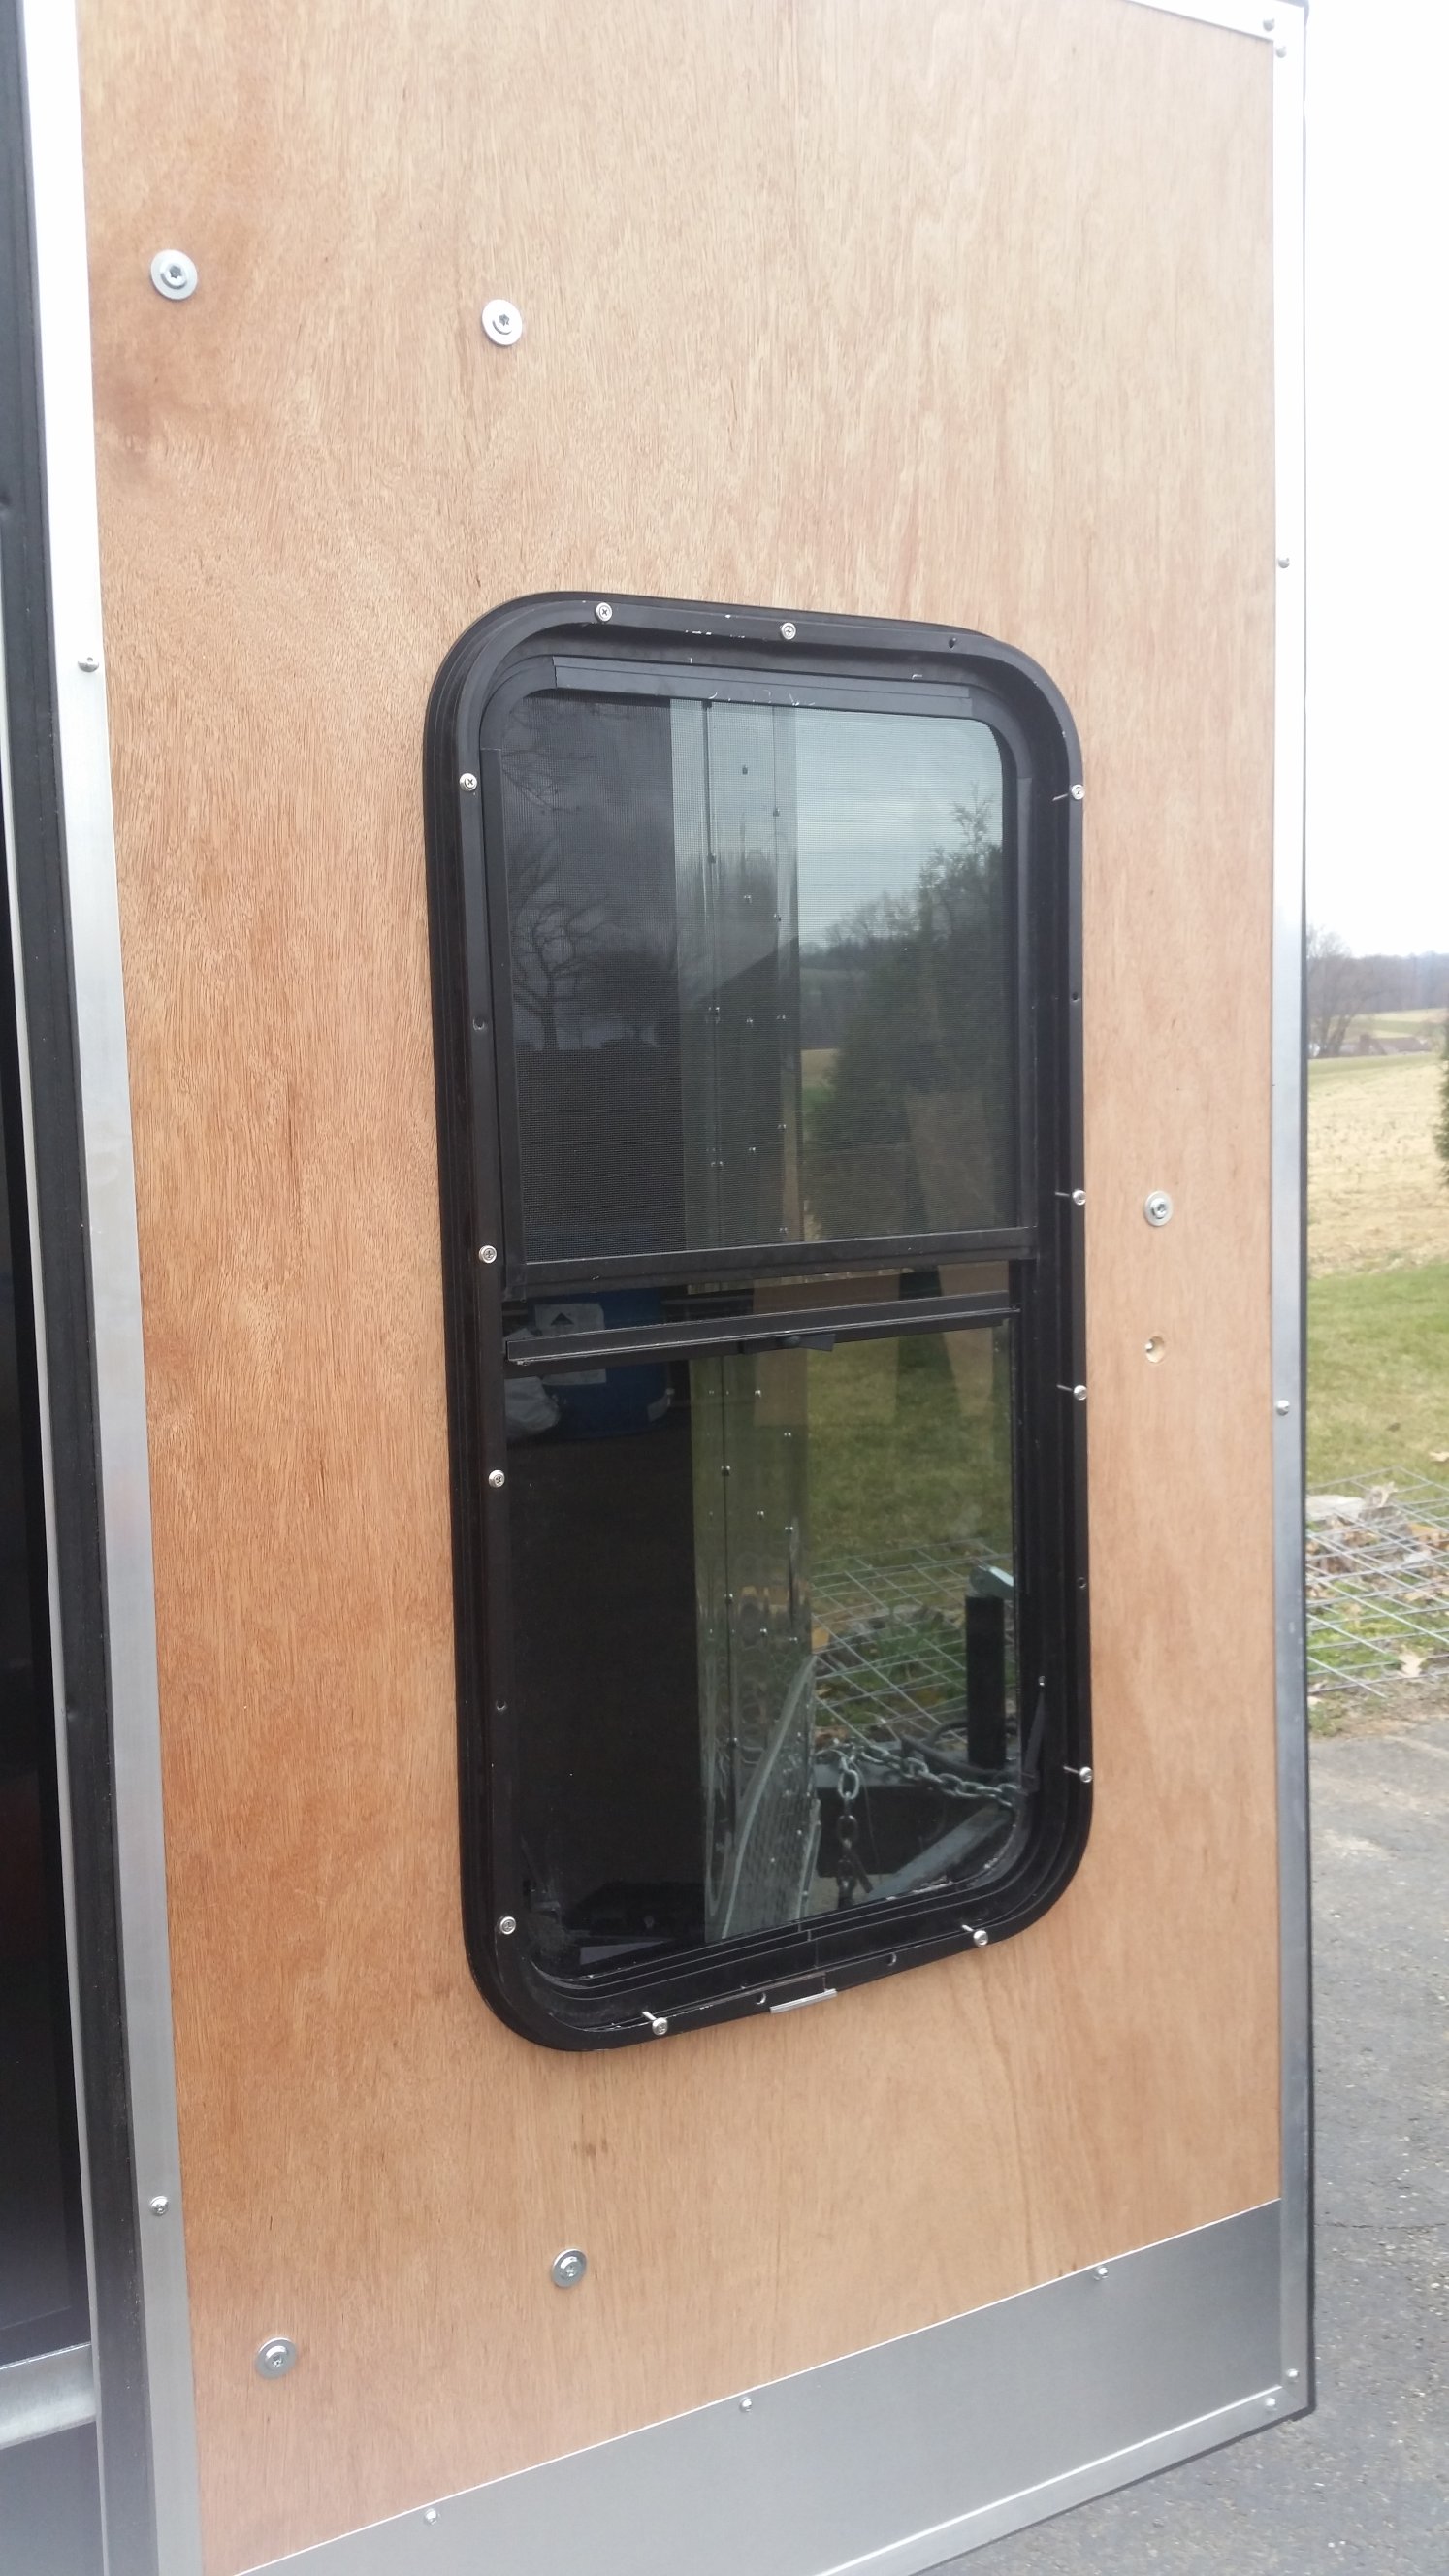
I liked the idea of having a window on the trailer door, so I found a used RV window on ebay and bought that for $80. Nick helped me take the door off and cut the hole for the window. The door was much thinner than an RV door so we had some obstacles to overcome but it all worked out. We installed an RV door latch, instead of using the locking bar to get in and out all the time.
The bunk bed idea I had was great in theory, I wanted something that could be folded up onto the walls and be secured so you could still use the trailer for cargo space. In the end wasn’t practical with the height the beds would have to be at and no one really trusted sleeping on a folding bunk bed. So some of the other guys came up with the idea of putting 2×6 rails lengthwise down the trailer and cutting out 2×4 notches widthwise in the rails so we could pop the cross boards in when we wanted to set up and throw 2 pieces of pre-cut plywood on top of the rafters to make a 2nd sleeping area. It worked out awesome. We were able to fit 2 queen size air mattresses under the loft and another air mattress up top. So four people slept under and 2 people slept on the loft, plus we had extra space for gear and clothes up top. Nick fashioned a nice wooden fold-able table together and installed it across from the side door. It comfortably seats 4 to 5 people.
All in all we probably spent a little over $5k on the trailer build and it was well worth it in the end. If you have any questions feel free to leave a comment and I’ll get back to you.
